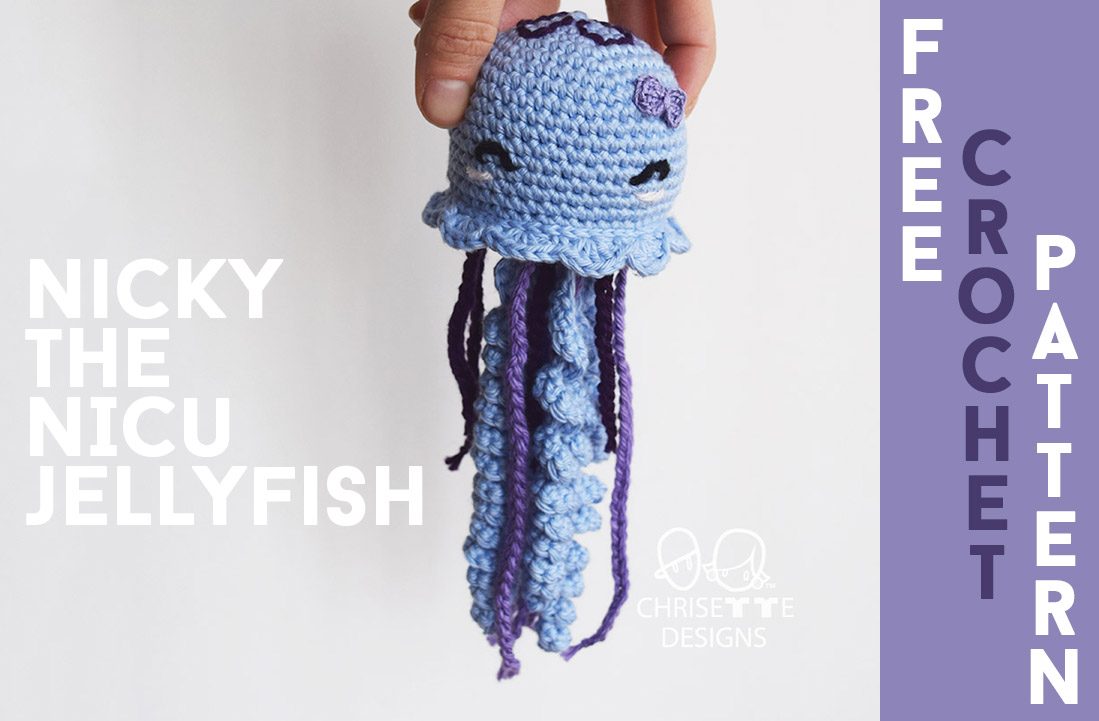
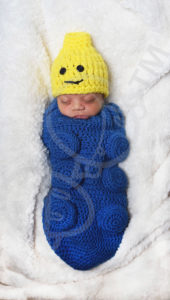
What if I told you that crocheting this doll for a preemie baby could improve their breathing, regulate their heartbeat, and give them strong oxygen blood levels??
WHAT GREATER GIFT COULD YOU GIVE A BABY?
Last December one of my best friends gave birth to a preemie baby boy named Grayson.
While he was in the NICU (neonatal intensive care unit), she did research on preemie babies and came across an article about crochet toys with coils on them that remind babies of the umbilical cord, and it calms them when they’re in the NICU! (Check with your hospital for their exact rules before gifting this to them.)
And the best part? It keeps them from pulling on their wires!

Here’s a picture she sent me before he had his Nicky Jellyfish doll:
His hand was always on the CPAP, ready to pull it out at any moment! (A CPAP is a tube where oxygen flows from.)
So I created my own design of a jellyfish so more people can experience the huge JOY it was to gift something like this.
The design on the top of the head was inspired by this beautiful jellyfish photo I came across:
And I’m pretty sure I’m the only Crocheter in the world who didn’t know all of this!
Comment below if you already knew and I’ve just been living under a rock! Also, comment if you didn’t know so I can feel better.
And PLEASE tell me I’m not the only one who didn’t know how to pronounce “NICU” (nikyo͞o). I was saying, (knee-koo) hahaha!
PATTERN
(You can purchase the pdf version here)
NOTE: This is a Chrisette Designs original design.
This pattern is NOT to be SOLD.
You may sell what you make, but must use your own photos and should credit me by showing the link to my pattern here.
If you need assistance or find a site selling my pattern, please feel free to contact me at chrisettedesigns@yahoo.com Enjoy!
MATERIALS
- Cotton size 4 worsted weight yarn. The softer the better!
- 3.5mm hook
- 1.65 mm hook (for bow)
- Embroidery floss (for bow)
- Bent yarn needle
- Stitch markers
- Scissors
FINISHED SIZE: about 8.5 inches long, and about 2.75 inches wide.
STITCHES: (U.S. Terms)
Magic ring:
ch: chain
sc: single crochet
st(s): stitch (stitches)
dc: double crochet
tr: treble crochet or triple crochet
NOTES:
- Work in continuous rounds.
- Using stitch markers: Make the first stitch of the row you are starting. Put the stitch marker in the stitch you just made. Crochet around. The last stitch of the row will be the one before the stitch marker. To begin the new round, take the stitch marker out, do one stitch where the marker was, and replace the marker right where you just stitched. Video tutorial here:


I used a 40 inch piece of contrasting yarn. Below is a video tutorial:


All done!
If you liked this pattern, please support me on Ko-Fi!


I’d love to see your creations by tagging me here:
Instagram
Facebook
Twitter


 Subscribe for a FREE baby set pattern & updates! (All the cool kids are doing it.)
This is so sweet! I wish I had something like this for my premie (she was born this past January). I’m going to make it for her anyways! I’ll be sure to tag you when I post a pic of her with it!
Aw thank you so much! It’s not too late to make her one, and I would LOVE it if you tagged me in the pic! Instagram or Facebook is where I post 🙂 Enjoy the pattern!
Can you do a video tutorial for the tenticals?
Hi Sarah! That’s a great idea! I will add that to my list. I’ll be sure to send out an email once it’s added so you get notified.
I’ve made several of the jellyfish. I’ve email the children’s hospital in my state and still have not got a reply on if they will accept them. Do you have addresses of hospitals that will take them?
Hi Sarah! That’s great to hear that you’ve made a bunch! I do not have a list of addresses since every hospital has different rules that could change at any time, so it is best to wait for their reply to make sure your jellyfish will be accepted there 🙂
I will be making a flat version of Nicky for the hospital where my daughter works per their request. They lay the baby’s heads on the heads of the jellyfish. Since my crochet skills are limited to granny squares and temperature Afghans, it will be a new challenge for me to learn to follow a pattern.
Oh that sounds interesting! I’d love to see a picture of it if you’d like to share! You could send it on my Instagra, Facebook or TikTok page under the same name, Chrisette designs
Do you use embroidery floss for the eyes and blush? Or is it in worsted yarn?
Hello! I used yarn on mine but embroidery floss would work fine too! It might just be thinner depending on how many ply it has 😁
How long does this typically take? I love this idea!! And I would love to make one for a friend of mine
It depends on your speed, but I’d say some people can finish it in a little over an hour, others could take 3 hours 😁